How to Add a User to a Department
When a user registers on the portal, they select their Department(s) during registration. A membership request is automatically created and sent to the Department Administrator for approval. Department Administrators can review and approve these requests from the Users section.
Steps to Approve a Membership Request
-
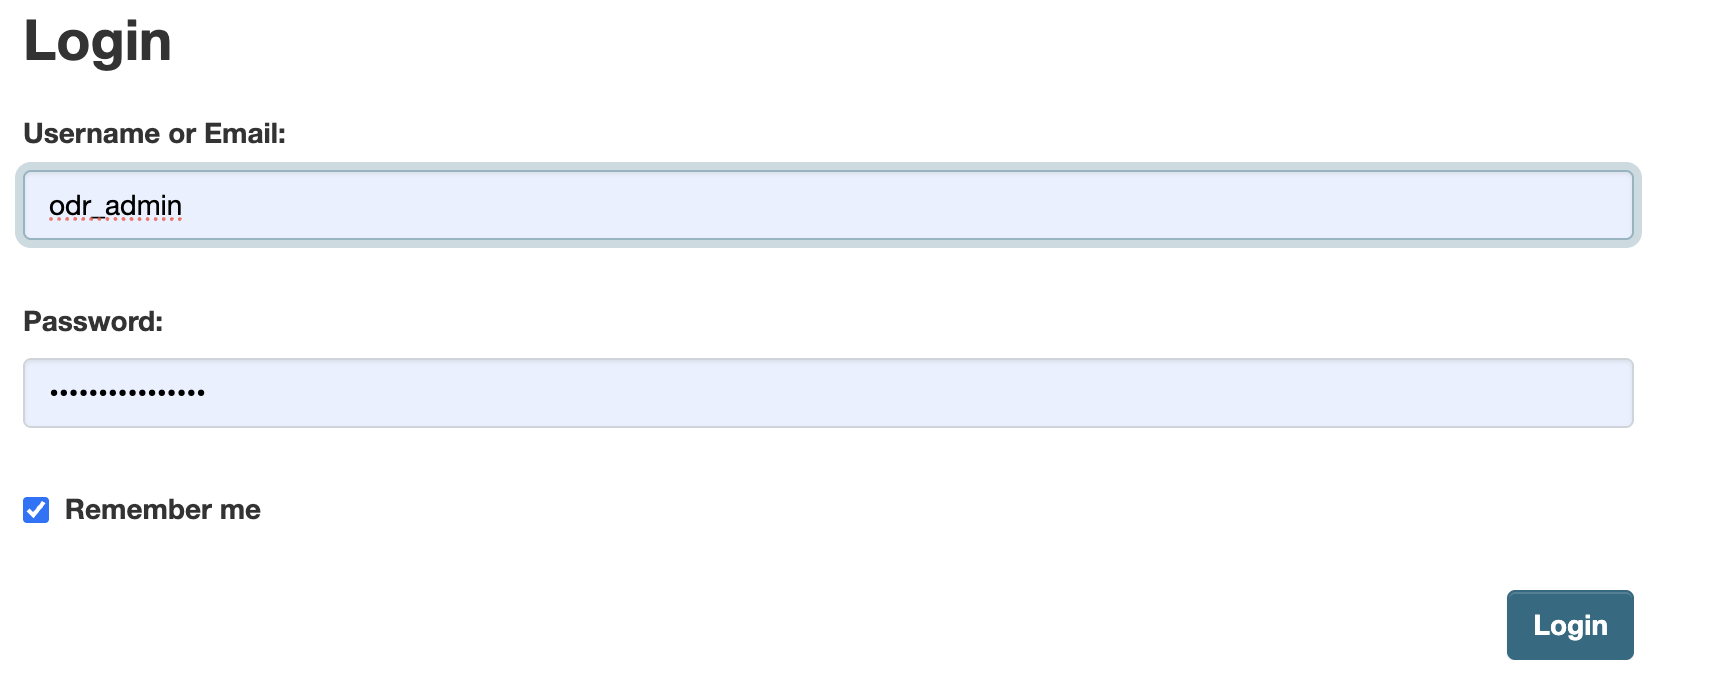
Login to the Portal
Login using your authorised Administrator credentials.
-
Navigate to the Users Section
Click on Users in the navigation menu. This option is visible only to System Admins and Department Admins.
-
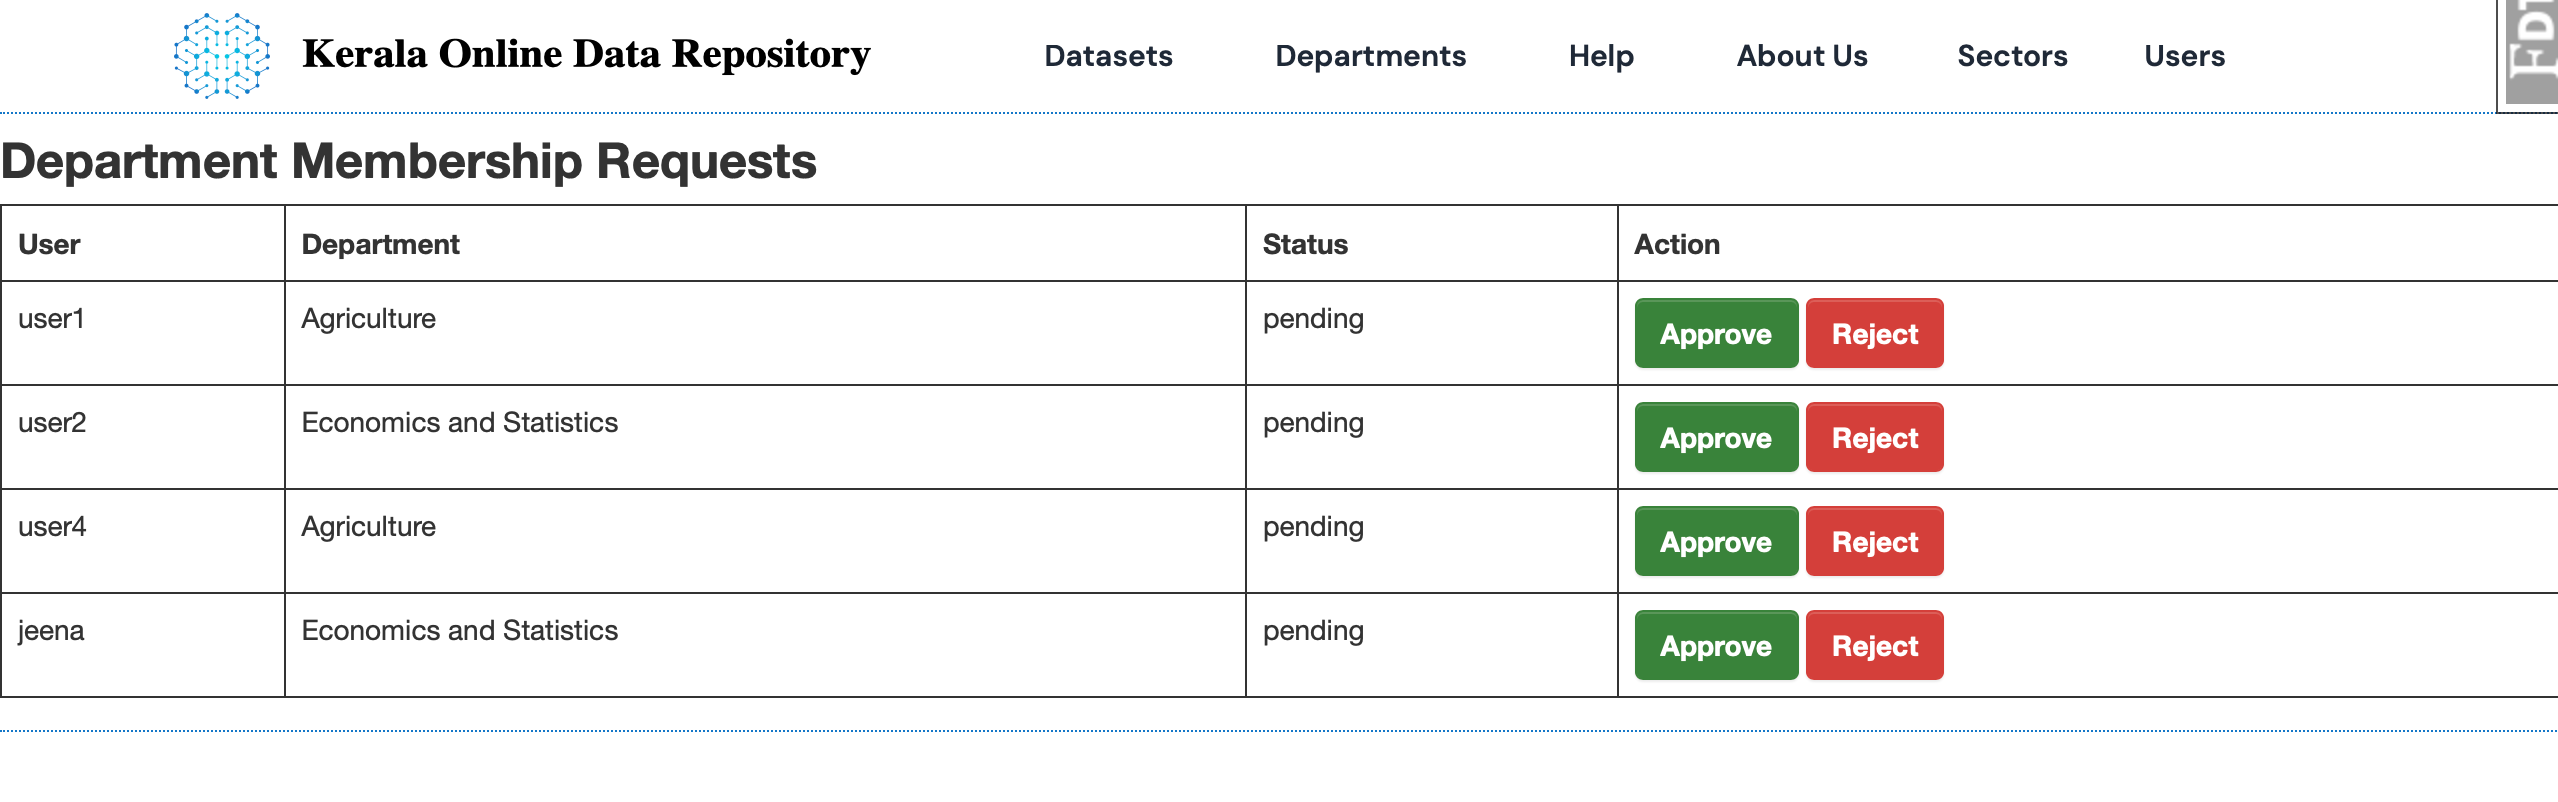
Review Pending Requests
The Department Membership Requests page lists all pending requests showing the User, Department, Status, and available Actions.- System Admins can see requests from all Departments.
- Department Admins can see only requests for their own Department(s).
-
Approve or Reject a Request
For each pending request, the Administrator can:- Approve – Redirects to the Add Member page where you assign the appropriate role to the user.
- Reject – Declines the membership request and marks it as rejected.
-
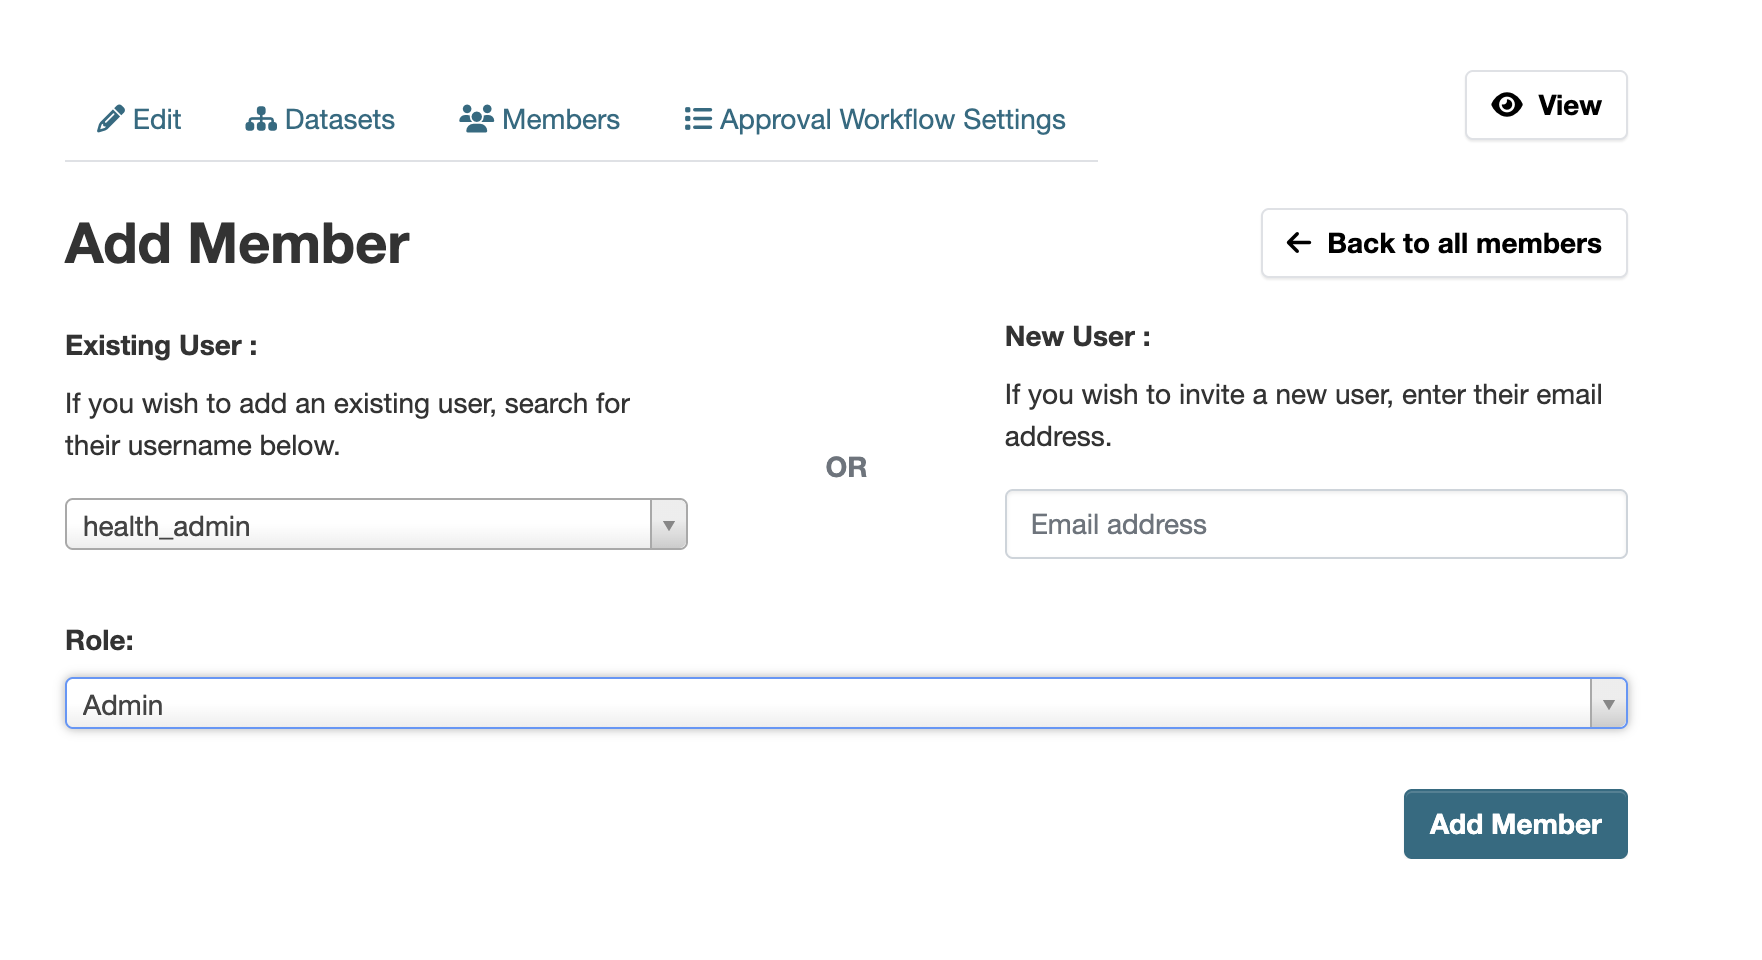
Assign a Role on the Add Member Page
After clicking Approve, you will be redirected to the Add Member page. Select the appropriate role for the user:- Admin – Full control within the Department
- Creator – Can create and manage datasets
- Member – Limited access as defined by policy
-
Confirm the Assignment
Click Add Member to confirm. The membership request will automatically be marked as approved and the user will be added to the Department.

Important Notes
- Users must complete email verification before their account becomes active and requests appear in the queue.
- Membership requests are created automatically when a user registers and selects a Department.
- Only Department Admins or System Admins can approve or reject membership requests.
- Roles determine the level of access and permissions within the Department.