Time Series Data Append (Using Table Designer)
The platform allows structured time-series data management using the Table Designer interface. This feature enables users to append new rows, edit existing records, and manage tabular data safely without breaking the dataset structure.
Step 1: Upload the Initial Dataset
- Go to Add Dataset.
- Fill in the dataset details.
- Upload a tabular file (CSV or Excel) as a resource.
- Click Finish or Review.
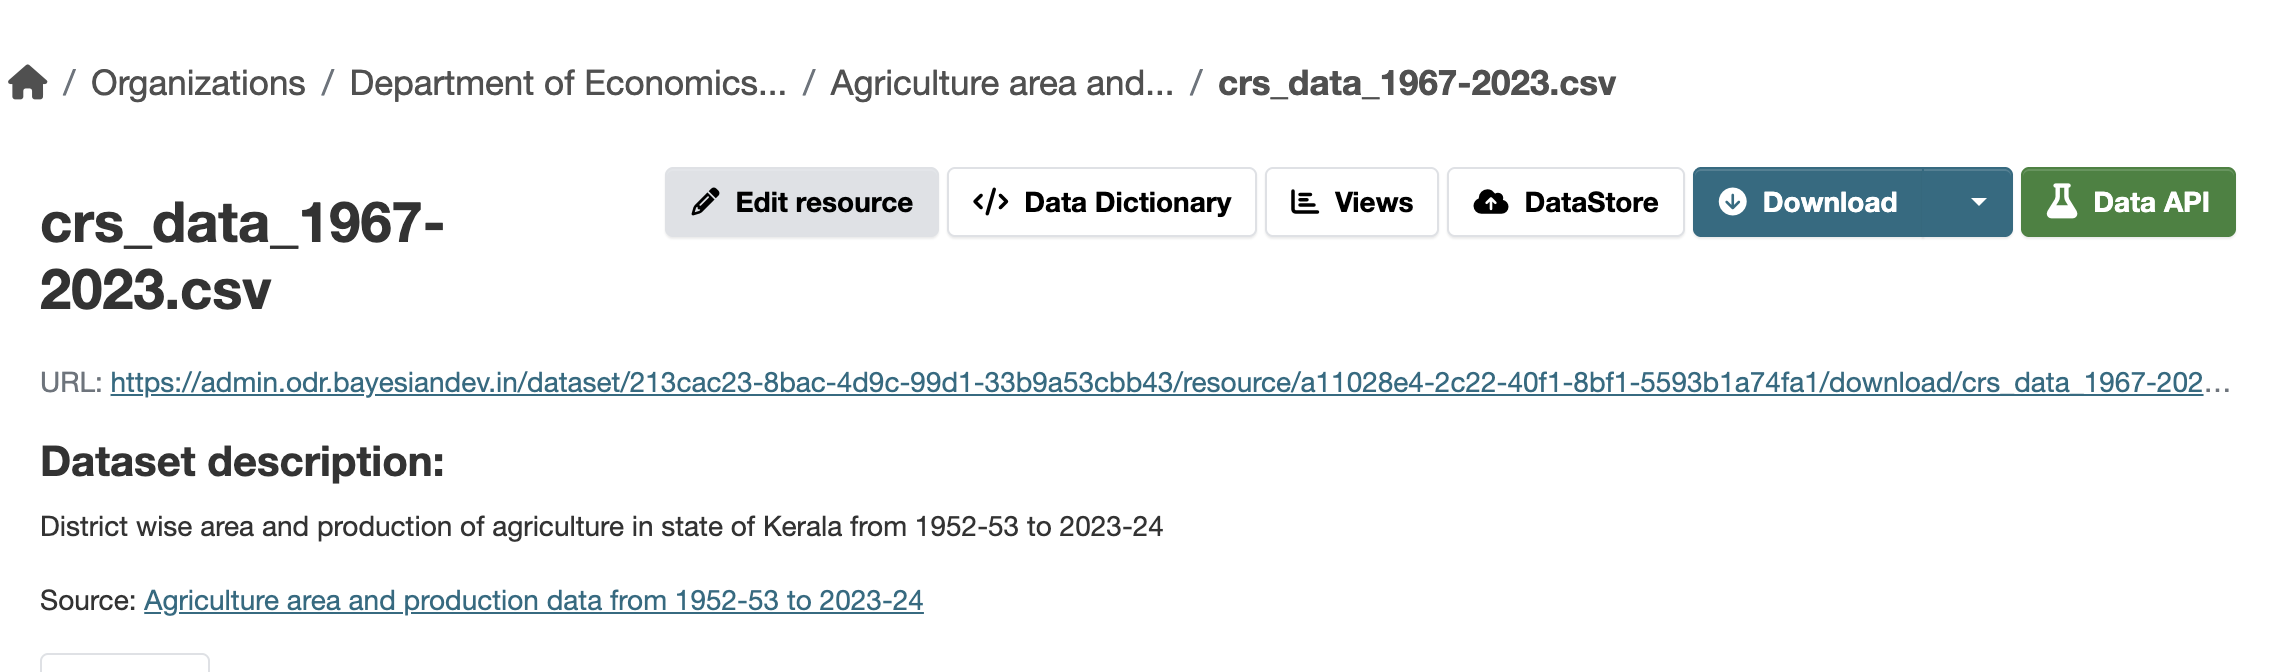
Once uploaded, the dataset page will display the resource file.
Step 2: Prepare Resource for Table Designer
To enable structured time-series management, the uploaded file must be converted into a managed table format.
- Open the dataset page.
- Click the uploaded resource.
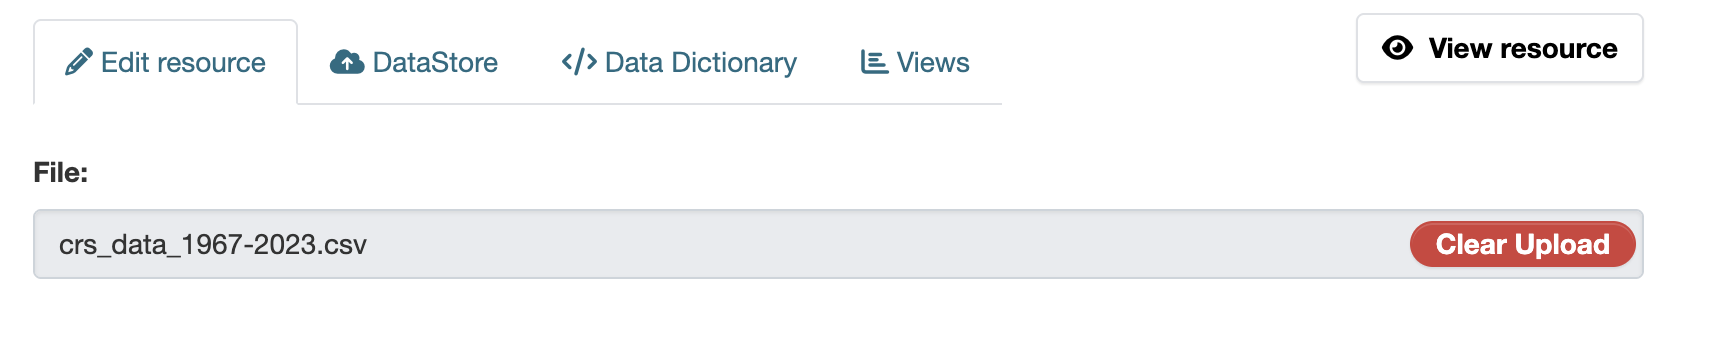
- Click Edit Resource.
- Click Clear Upload.
- Click Remove to confirm.
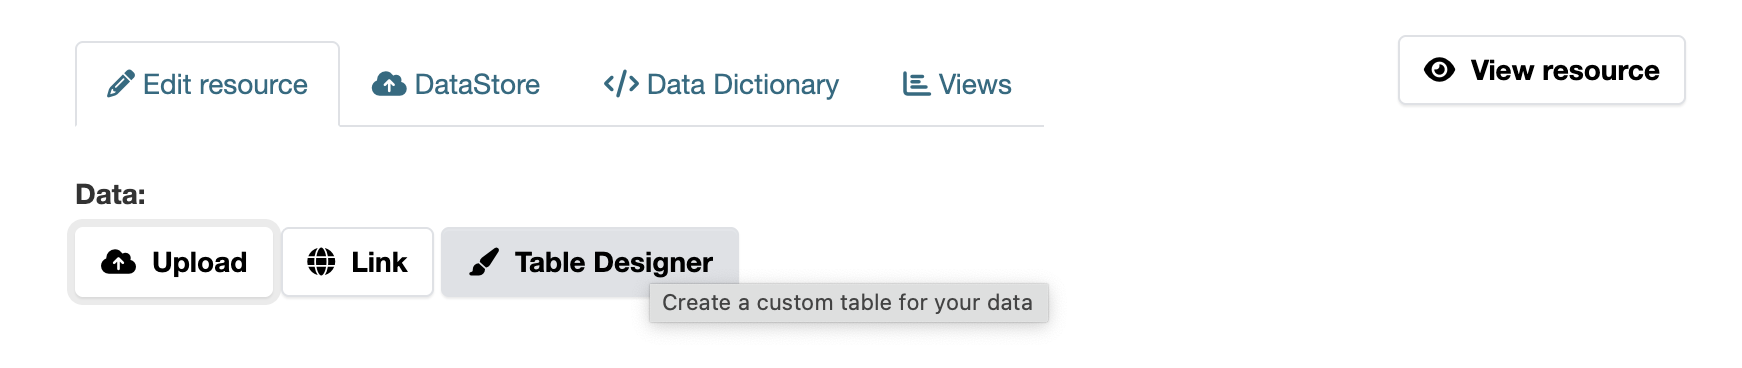
- Click the Table Designer button.
Screenshot: Edit Resource
Why Clear Upload?
Clear Upload removes the original uploaded file so that the resource can be converted into a structured database table. This allows:
- Row-by-row editing
- Appending structured time-series data
- Validation during updates
Screenshot: Clear Upload Option
Why Click Remove?
After clearing the file, clicking Remove confirms the deletion of the uploaded file. This does not delete the dataset — it only prepares the resource for structured table management.
Screenshot: Confirm Remove File

What is Table Designer?
The Table Designer converts the resource into a structured data table stored in the system. It allows:
- Adding new rows
- Editing existing rows
- Deleting rows
- Appending bulk time-series data
- Editing data directly in Excel format
Screenshot: Table Designer Button
Step 3: Download Append Template
Inside Table Designer:
- Click Download Excel Template.
- A template file will be generated.
- Download and open the file.
This template ensures that new time-series data follows the correct structure.
Screenshot: Download Template Button

Sample Template Structure
The downloaded template contains the required columns. Do not modify column names.
Step 4: Add New Time Series Data
- Add new rows below the existing structure.
- Maintain correct date/time format.
- Do not change column headers.
Screenshot: Downloaded Template Sample with new time series data

Save the file after entering new data.
Step 5: Upload Template to Append Data
- Return to Data Resource page.
- Click Upload Template Data.
- Select the updated template file.
- Confirm upload.
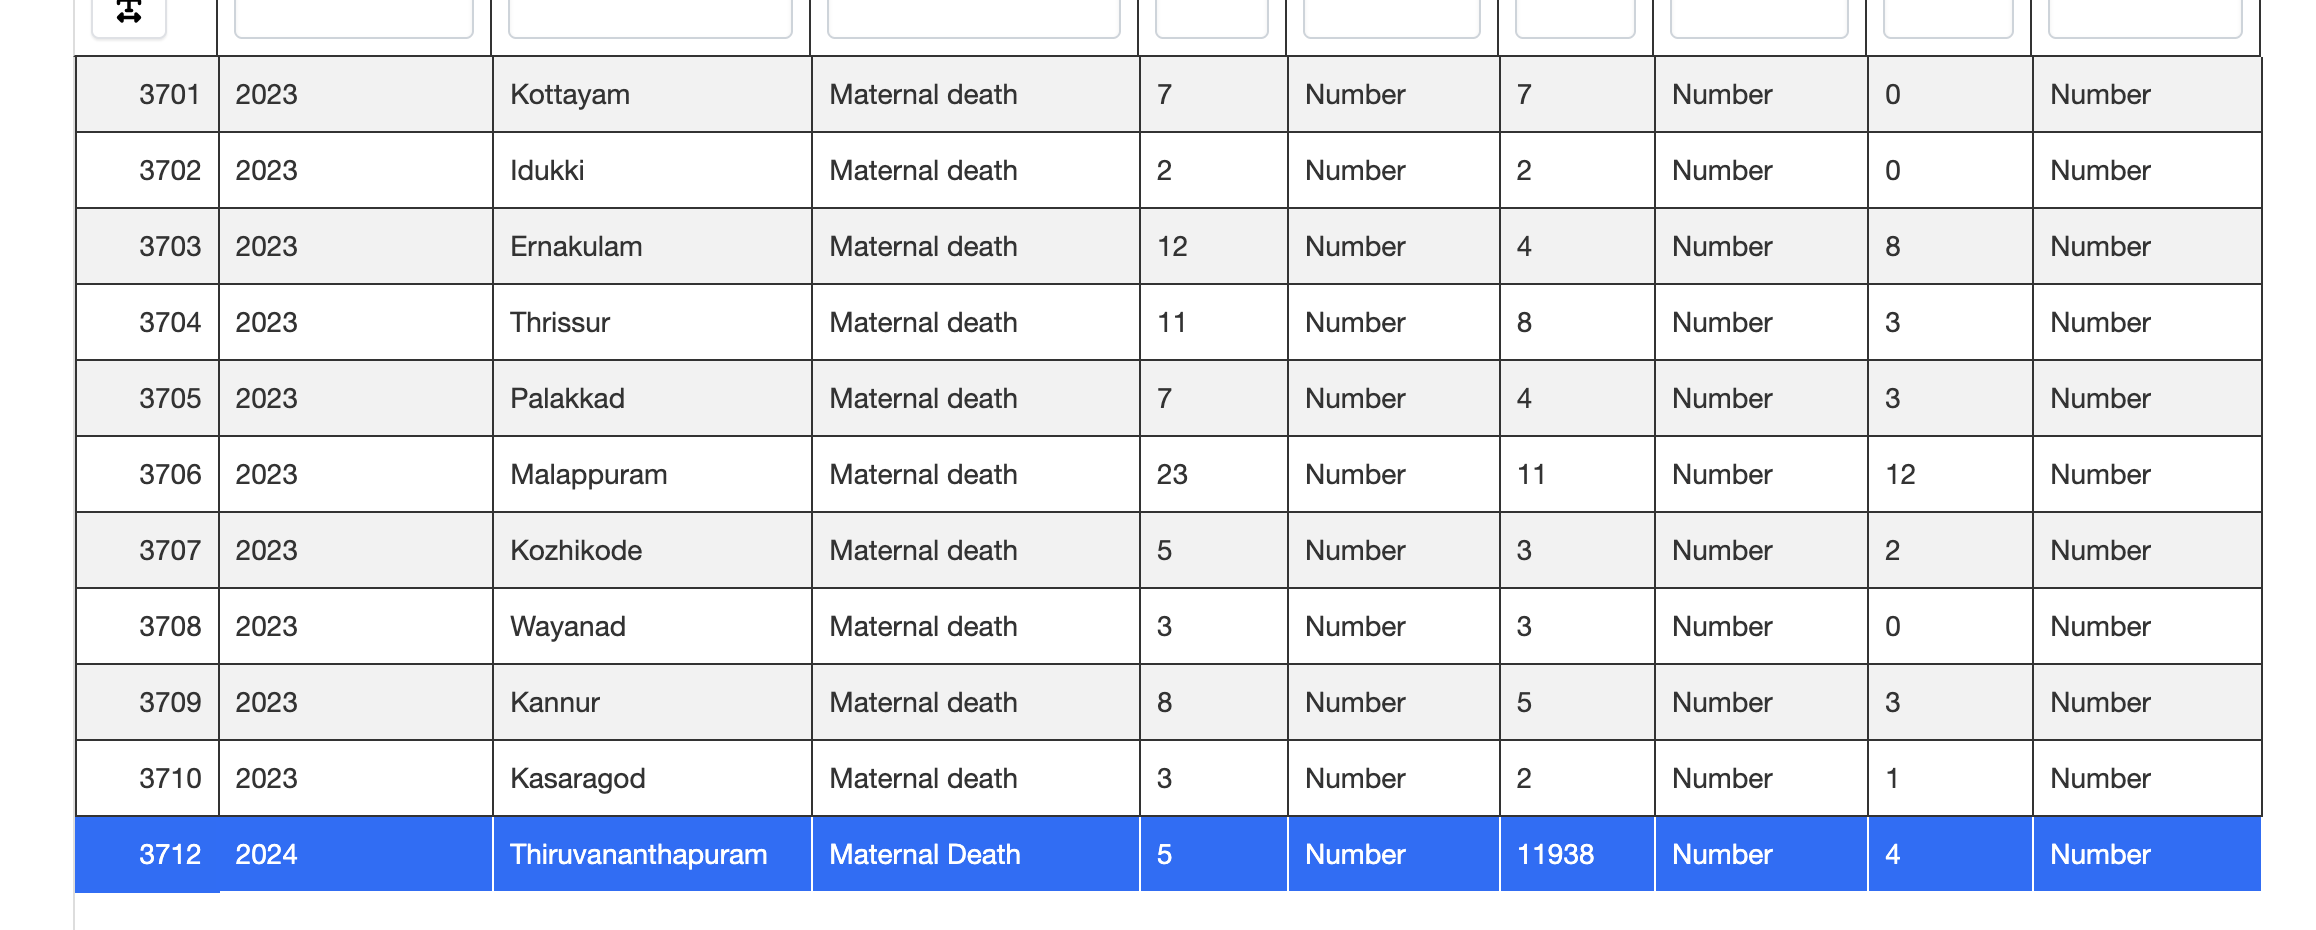
The system validates and appends the new rows to the existing dataset.
Screenshot: Appended Data in Table
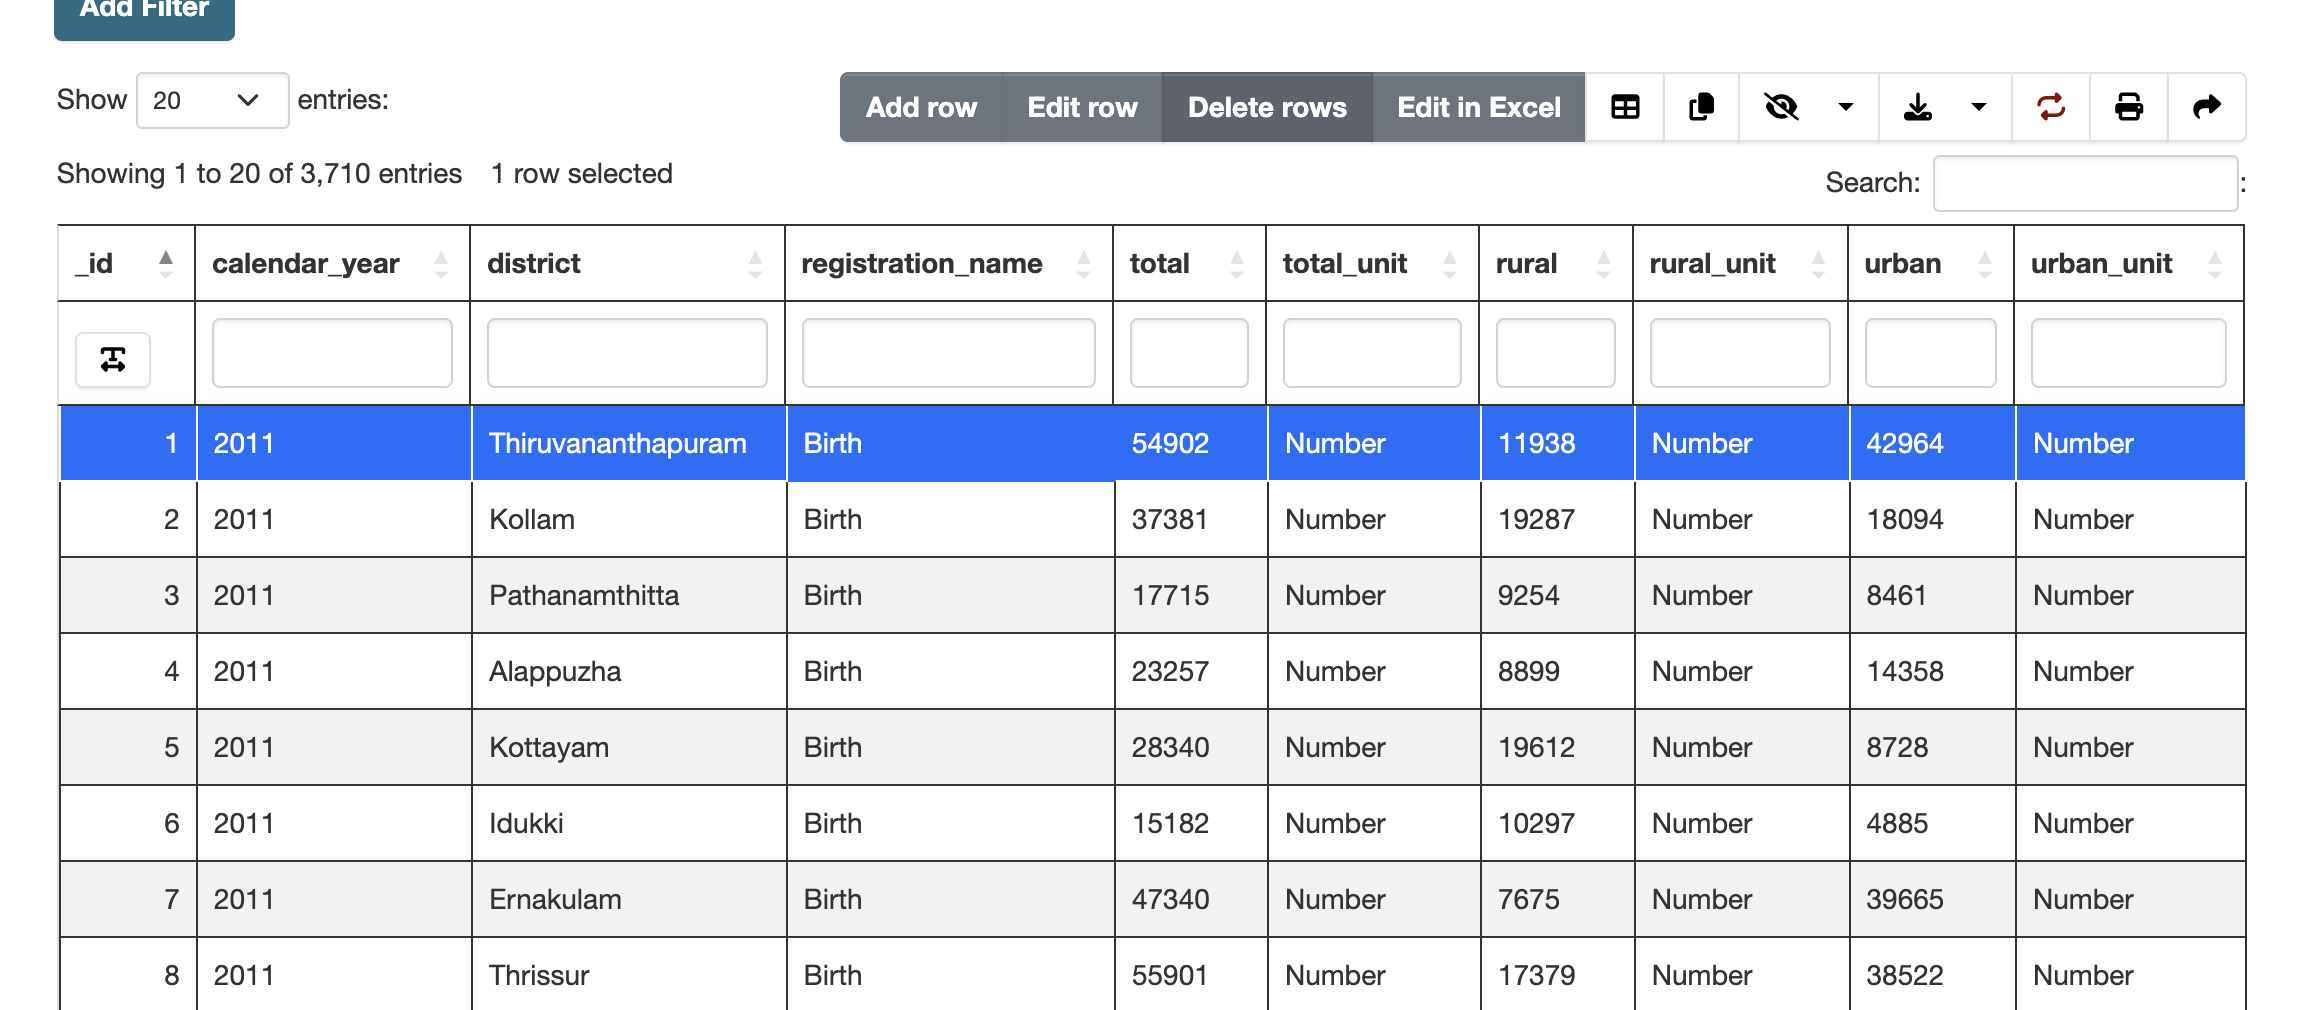
Managing Data Inside Table Designer
At the top of the preview table, several options are available:
- Add Row – Insert a new record manually.
- Edit Row – Modify selected row values.
- Delete Row – Remove selected row.
- Edit in Excel – Open and edit the table in spreadsheet format.
Screenshot: Add / Edit / Delete / Edit in Excel Options
Step 6: Verify Updated Data
After appending or editing:
- The table refreshes automatically.
- New rows appear at the bottom.
- Changes are saved immediately.
Important Notes
- Column names must not be changed.
- Data types must remain consistent.
This structured workflow ensures reliable time-series updates without overwriting or corrupting existing data.